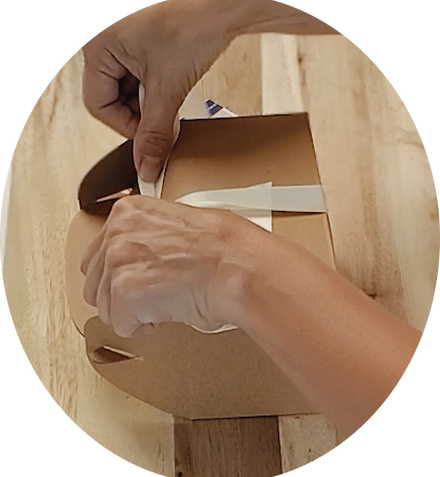
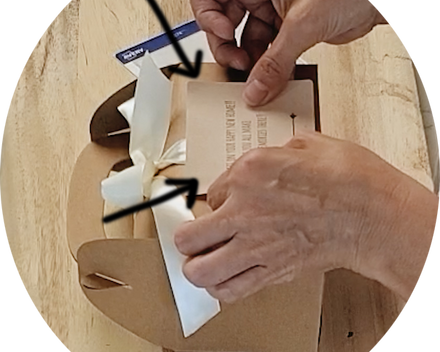
Gable Box Assembly Instructions

Attached is an informational video as well as a step-by-step guide to assembling your box!

Step 1

Fold box together, start with the bottom

Step 2

Add your candle and any other items to the box

Step 3

Fold together the top of the box

Step 4

Tie ribbon around the body of the box

Step 5

Attach sticker label to the front of the box

Candle Care

Here is everything you need to know about properly caring for your candles.

BURNING INSTRUCTIONS

The first time you light your candle allow it to burn until the liquid wax covers the entire top of the candle. This breaking in process ensures that it will perform better and more evenly throughout the life of the candle and provide a clean and efficient burning cycle. Keep wick trimmed to ¼” Be sure to trim your wick each time you light it. If you notice black soot coming from the wick your wick is too long. Please extinguish your candle, let the wax harden, trim your wick and then relight. Burning your candle too long willl cause the candle to get too hot allowing for soot, a change in the smell, and the possibility of your candle breaking. Not burning your candle until the wax melts to the edge can cause your candle to bore down the middle. Always burn within sight and never leave your candle unattended. Let candle completely cool before moving or re-lighting. Keep away from Flammable Objects. Keep away from children and pets. Keep candles free from any foreign materials including pieces of wick and matches. Only burn candles on level fire resistant surface. Burn candle in a well ventilated area do not burn in an enclosed space. Do not burn candle more than 4 hrs. at a time. Stop use when only ½” of wax remains. If your candle is shipped when it is cold or it gets too hot the wick may de-attach from the jar and slide to the side causing the jar to crack. Thank you and enjoy your candle safely. Please share your pictures on Instagram #thedancingwick. We always appreciate a happy review.

Bread Bowl Refill Instructions

Here are the step-by-step instructions on how to refill your wood bowls

EASY 5 STEPS
TO REFILL YOU BOWLS

Place

STEP

1

Clean

Clean out vessel. We suggest putting it on a cookie sheet and into your oven at the lowest temp for 2-5 minutes and wiping out with a paper towel. BE CAREFUL not to leave in there too long.
Place

STEP

2

Attach the wick/s

Attach the wick/s. Be sure to center them and not put them too close to the edge. That can be a fire hazard. We recommend removing the sticker tab and using hot glue to adhere them.
Place

STEP

3

Melt wax

Melt wax in the microwave just until melted (1-2 minutes)
Place

STEP

4

Pour wax

Pour wax in vessel ***be careful not to spill
Place

STEP

5

Let Rest and Trim

Once wax has hardened trim your wick to 1/4"

SUGAR SCRUB USE INSTRUCTIONS

Here's everything you need to know about your sugar scrubs

OWNING OUR SCRUBS

GETTING THAT SOFT SKIN

Our sugar scrubs are intended for use on the body only, not the face. They are a wonderful way to exfoliate and moisturize dry skin. Use in a circular motion 2-3 times a week for soft, silky smooth skin. I have one scrub sitting next to my sink to use after I wash my hand and another in the shower that I use on my calves and arms, you can use them anywhere your skin needs a little extra moisture and pampering (just not the face, they’re too rough for that). Be sure to thoroughly rinse off the oils and sugar when you’re done.

SCRUB CARE

The oil can sometimes separate and sink to the bottom of the jar after sitting for a while. If your scrub is a little dry, please shake before using. I also suggest turning the jar upside down for about 10 minutes before use to evenly distribut the oils throughout the entire scrub.

CUSTOMERS TALK ABOUT US

Image

AMAZING!!!

AMAZING!!! My favorite part about these boxes is that they’re filled with stuff my future bridesmaids will actually use!! I have been asked to be in 4 weddings in the past 2 years and each bridesmaid proposal box is full of cheap plastic stuff I throw away within a week. — I got the candle, scrub, and box. Everything came perfect! The stickers to put on the box are adorable and so is the ribbon. There was even an extra candle that said “Congrats on your Engagement” just for me. I cannot recommend this enough!

Kelsey

CUSTOMER

Image

Perfect Special Gift for a Friend

This is a special, hand crafted item that is perfect for a friend gift. The owner went the extra mile and sent a nice thank you gift with my order. This is what makes Etsy special.

Pamela

CUSTOMER

Image

Too Pretty to burn!!!

I ordered this much anticipated bread bowl candle in fresh cut roses scent and am obsessed!! I immediately ordered a couple more so I can have one for “show” with the ribbon still attached!!❤️❤️❤️❤️❤️ Thank you Monika!

Robenett

CUSTOMER

Image

AMAZING TO WORK WITH

These smell absolutely AMAZING. I contacted the seller because I needed this as a last minute proposal and she was amazing to work with. Definitely recommend!!

Kallie

CUSTOMER